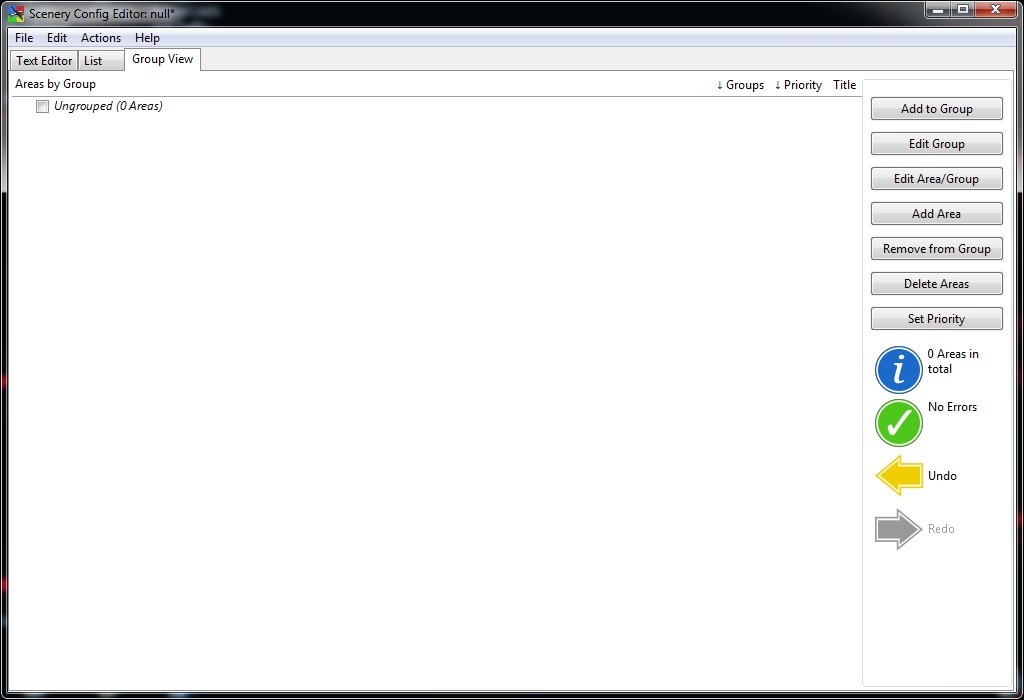
Before you proceed, you should select the tab Group View which should appear similar to below.

This will contain a box titled Ungrouped and in brackets the number of Areas which have not been allocated to groups and/or activated. It is now you will have to determine what methodology you are going to use to define your groups, i.e. countries, continents, hemispheres or flight plans etc. If you then select any number of these areas and click the “Add to group” button in the right-hand pane. You will get a pop-up box with an editable drop-down box containing all previous groups and the option to name a new group. (You can select multiple areas using ctrl-clicking, or shift-clicking.)
Ideally one should create a group containing all of the default scenery that is included in the basic installation of FS (see the Group View section below on how to create the zzzbasic group.) This basic group should then always be enabled. As you add more and more scenery, you should place these in other groups, so that if the proverbial ctd occurs and you suspect scenery files are the culprit; All you need to do is turn off all the groups except zzzbasic and reboot FS. If FS comes back, then start reselecting groups until the CTD happens again. You then know which group of areas is at fault; so turn off all but 1 area within that group restart FS and progressively re-enable areas until the fault happens again.
Once you have selected which groups and scenery layers are enabled you can save your scenery.cfg using the save option of the file menu or by pressing CTRL-S. Your FS scenery.cfg will then be modified to reflect the changes you have made. That the changes have become operative, should be reflected in that on boot-up FS will generate new scenery indexes. Verification can be checked by selecting to view the scenery library on start up.
Remember no changes will take place irrespective of what you do in this program, until you click Save on the file menu or press CTRL-S. So if you get in a tangle/ lose direction etc, just close the program and then reboot it and start again.
On Installation of new Scenery, just install as per software instructions, then run this program and it should show the new scenery at the top of the list in the list view. You can then manipulate it as above. You can also use the Add Area button on the list view to add the scenery directly. (Please note, however, some installers do not use the NewScenery.cfg convention, it would be best to run Flight Simulator before any installation to get Flight Simulator to recognise your latest changes.)


